If you like Star Wars and Christmas presents and awesome, but prefer wood and lasers to faux fur and embroidery floss, you should just scroll down a bit.
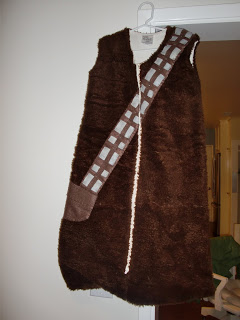
This is a bit off topic . . . but, speaking of projects, I wanted to share my most recent one, my Christmas gift to Frankie:
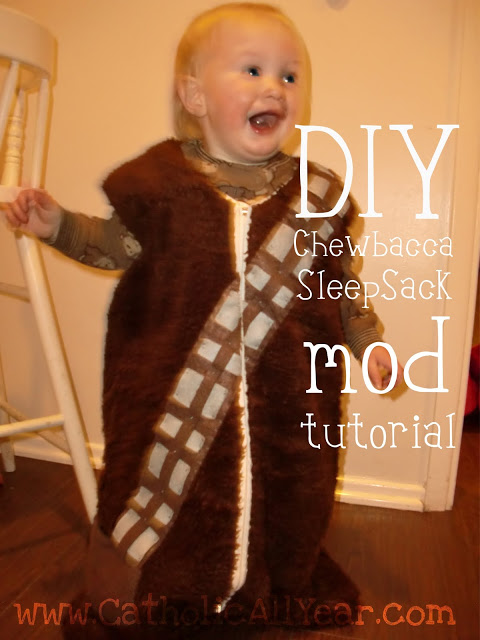
Introducing: The DIY Chewbacca Sleep Sack Mod! If you have a sewing machine and some basic sewing skills, it actually comes together pretty easily.
Supplies:
- A SleepSack: They don’t seem to make it in brown, but most of it is covered, so it really doesn’t matter much anyway. Mine was off-white.
- Brown faux fur: Enough to cover your SleepSack, I used about a yard for mine.
- Brown felt: 1/4 yard (9 inches) of 60 inches wide or 1/2 yard of 45 inches wide to piece together.
- Silver felt: 1-9×12 square, or if you’re like me and don’t have that on hand you can spray paint some white felt with silver spray paint. It works like a charm!
- Brown thread for your sewing machine.
- Embroidery floss in brown and silver-gray.
Scroll to the bottom for my attempt at a tutorial. Not enough photos with this one, since I wasn’t yet a blogger when I made it. But I’ll do my best to talk you through it.
And now . . . for something truly spectacular
 |
| from the “Life Imitates Art” file . . . (by Kevin R. Adams, found via Epbot) |
- Fold the faux fur in half, furry sides in, and lay the zipped-up sleep sack on top. Trace the outline of the sleep sack onto the wrong side of the faux fur with a chalk pencil.
- Cut out beyond your outline, giving yourself about 1 inch extra all around.
- Fold one of the pieces (this will become the front) in half and cut it top to bottom where the zipper of the sleep sack will be.
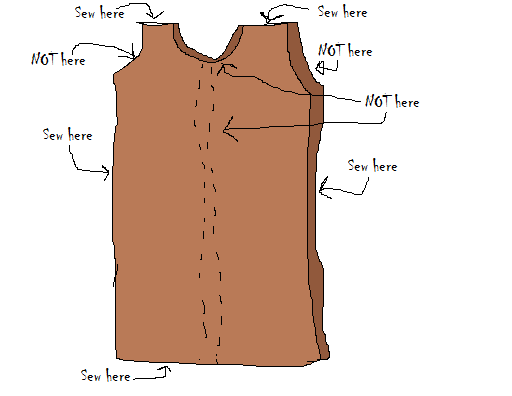
- Place the two front pieces on top of the back piece, fur sides together. Overlap the two front pieces about 1/2 inch where the zipper will go. Pin the shoulders, sides and bottom together if you wish. Or don’t, they don’t slide apart because of the fur.
 |
| Please enjoy my pattern tribute to Allie Brosh |
- On the sewing machine, sew the shoulder seams, the sides and the bottoms. Leave the center zipper opening open, as well as the neck and sleeves.
- Turn fur right side out. Put the sleep sack inside the fur sack.
Maybe you can do this next part on the machine. But I hand sewed it, to keep it from getting wonky.
- With a needle and thread, hand sew the fur to the sleep sack along both sides of the zipper. Below the zipper, just sew the fur pieces together.
- Hand sew the fur to the sleep sack at the neck and shoulders. Trim the top edge of the neck of the front pieces as necessary.
Now for the ammunition belt!
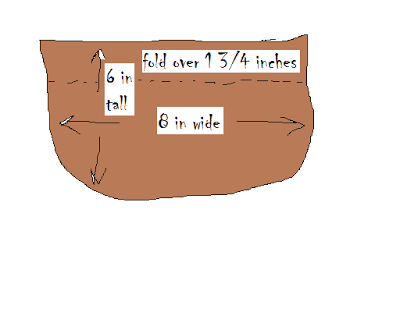
- Cut a half-circle-ish shape from one edge of the brown felt, approximately 8 inches in diameter and 6 inches long.
- Cut two strips along the whole length of the brown felt (this is super easy with a rotary cutter
but can be done with scissors). One should be 2 1/2 inches wide, the other 3/4 of an inch.
- Cut a series of rectangles from the silver felt. Half should be 1 1/2 x 2 inches, half should be 3/4 x two inches. I used 13 of each, but your exact number will depend on the size of your sleep sack and placement of the belt.
- Fold the top edge of the bag piece over and hand sew the edge down using a slip stitch. I switched to embroidery floss to attach the felt pieces, using three strands.
- With the zipper closed on the sleep sack, place the bag piece low on one side, and the belt over one shoulder. Tuck the edges of the belt under the bag piece.
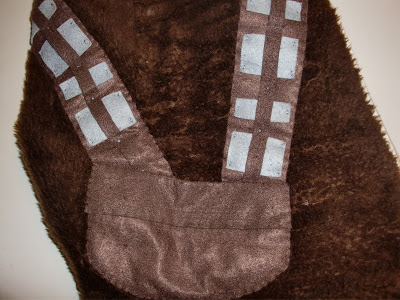 |
| Ignore the silver pieces and the thin brown piece for now. |
- Pin the bag and belt in place, and slip stitch them by hand onto the sleep sack.
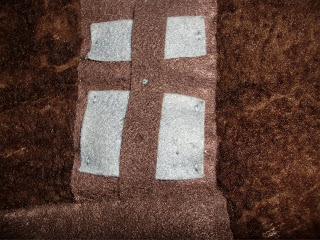
- Sew the sliver felt rectangles one-by-one onto the belt, alternating the small and large ones. Leave about 1/2 inch in between them.
- Attach them to the belt with the silver-gray embroidery floss. I used all six strands and used a long running stitch. You should have a total of four stitch showing on each large rectangle and two on each small one.
- Lay the thin brown felt strip down the middle of the belt and attach it in between each rectangle with a french knot in the silver-gray embroidery floss. Again, use all six strands.
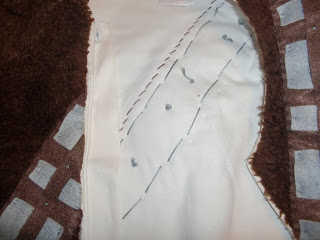
- The inside will look a little messy
- The last step is to cut an opening in the felt so the zipper will open and slip stitch the edges of the felt to the edges of the fabric along the zipper.
Voila! You have a Chewbacca SleepSack perfect for any number of occasions.


